


Visit Us
Studio 25 / 34-36 Ralph St, Alexandria, Sydney
For any business with products to sell, being innovative and creative in photography is essential for success, in capturing products in ways that will attract consumers attention and conveys the brand’s image and values can benefit the business in the long run.
In capturing the perfect image there are a lot of factors that need to be absolute. In order for it to be exceptional, we have to push the boundaries within every step of the process. And the first step is the most crucial and it is the set up of the studio. So we’ve simplified the process and made it easier for you to do with these 5 steps.
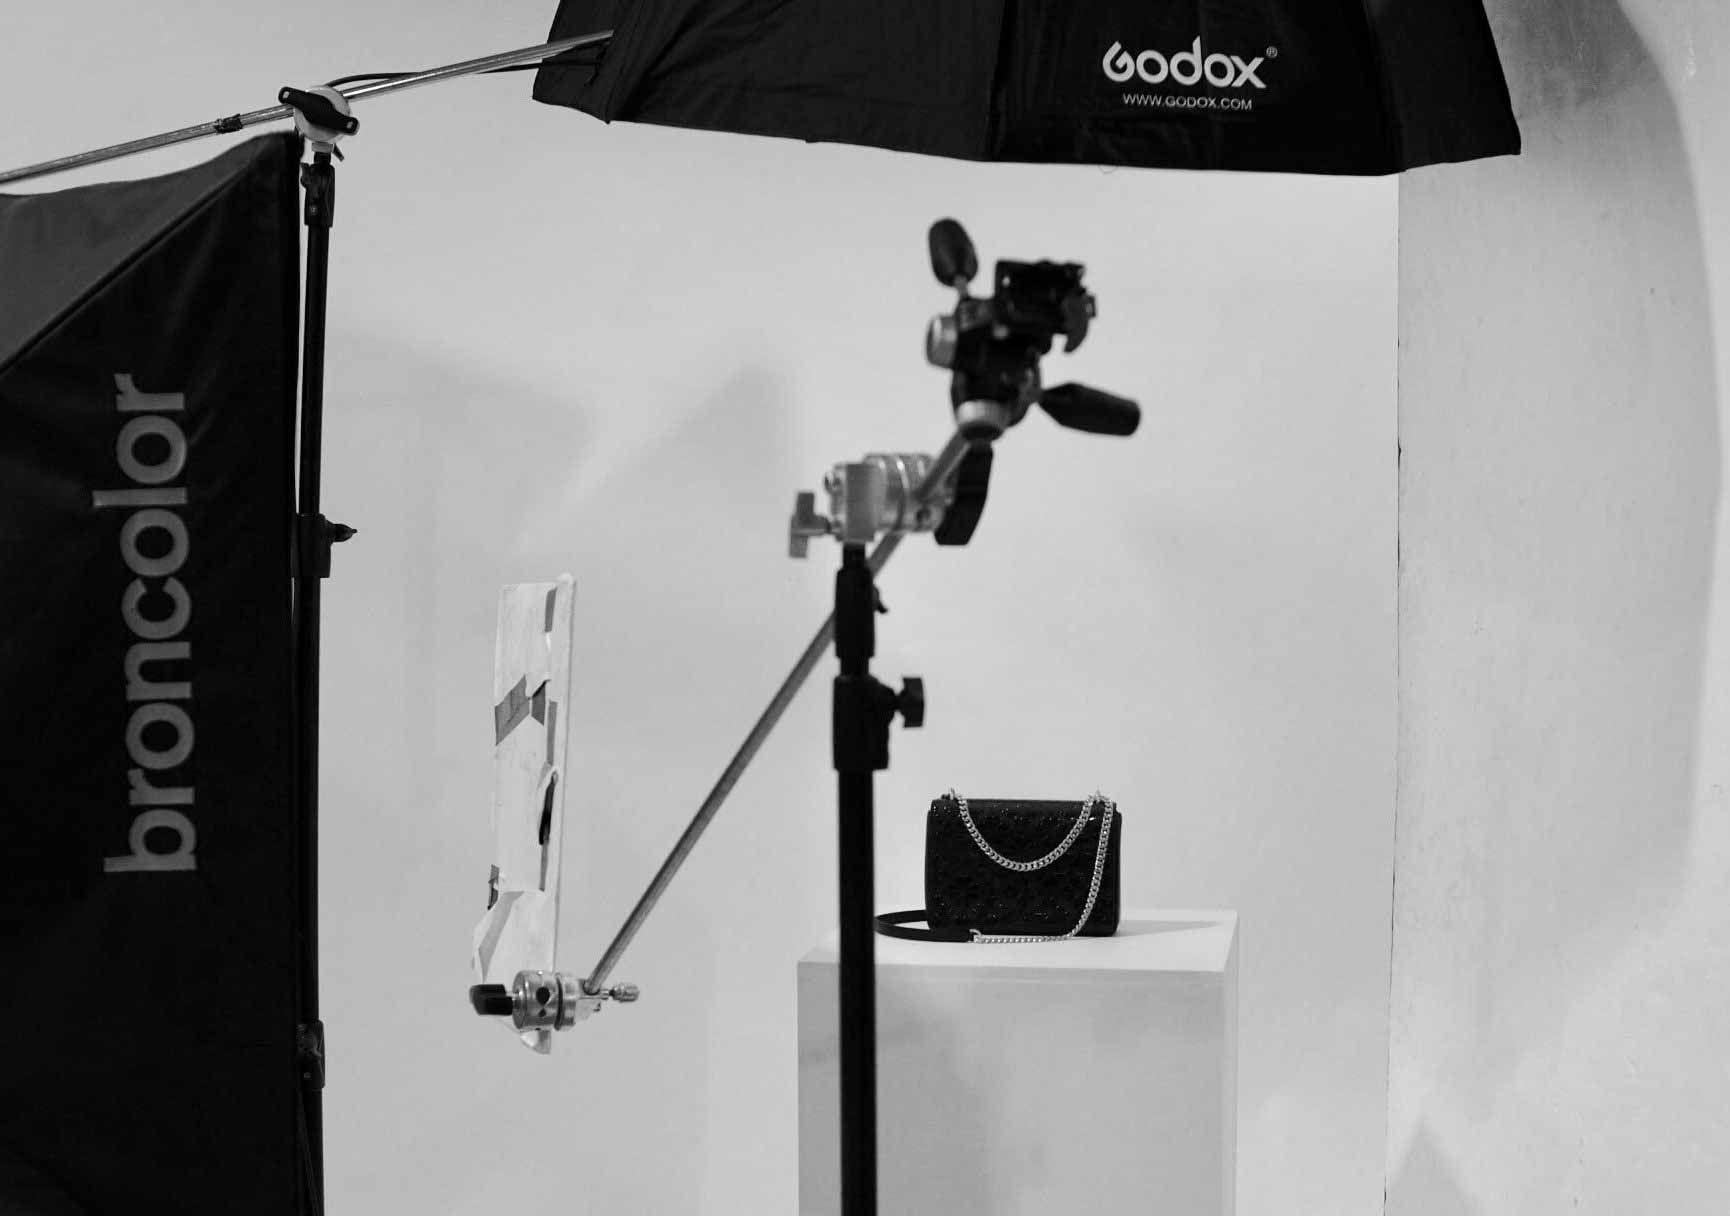
Step 1. Selecting a background:
The colour and the pattern of the background has to compliment the product as well as bring a specific mood into your product photo; or choose contrasting colours and texture to juxtapose your product from its surroundings. But for any photography you are doing always consider your target audience and their preferences; If your target customers are primarily young choose clean, vibrate colours.
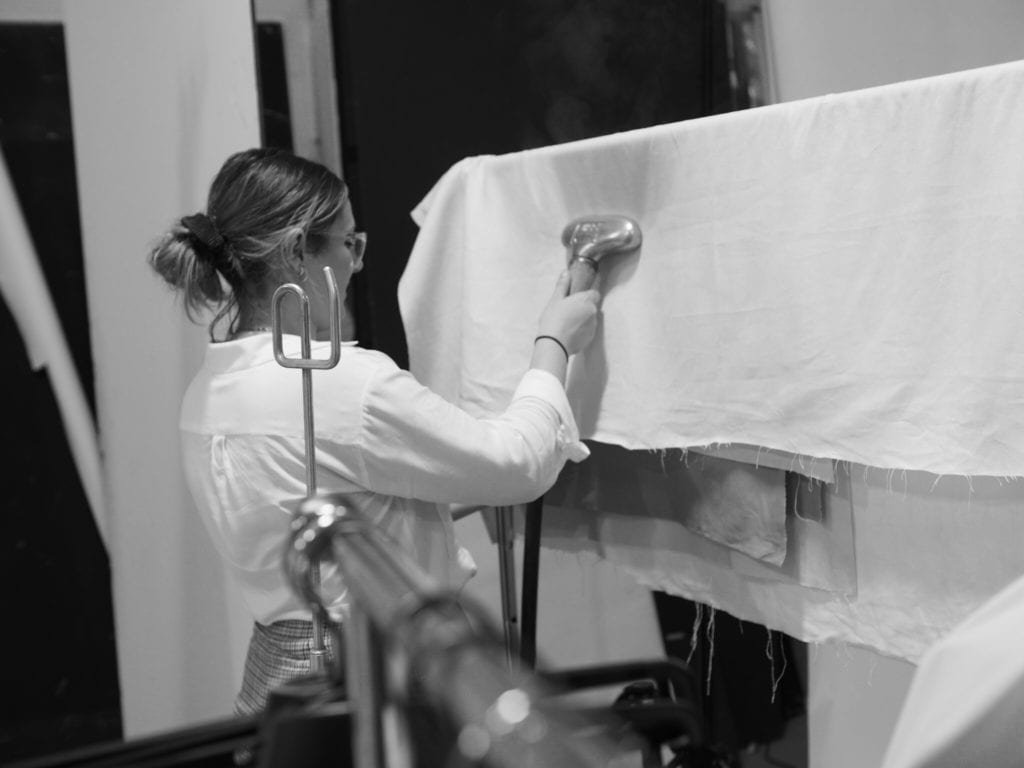

At our workroom, we have set up different backdrops for every kind of products to ensure we capture the unique mood of your campaign.
Step 2. Getting the right lighting:
You can see what a difference proper lighting makes when it comes to indoor shootings. Firstly, find your main light source and view your product in different placements from that light. Identify what angle you like best and size your light to determine the sharpness of your shadows. So, if you wish to have sharp and defined shadows use a smaller light source or for softer more blurred shadows use a larger light source.
Step 3. Selecting your camera settings and placement:


Now this is where our professional photographers make setting up a studio look easy. To keep it simple centre your product in the image, this will generally make the image appear cleaner and more professional. To capture minute details try using a wider lens, focusing on your main image while still identifying the negative space of your images. When working on a budget use programs such as Lightroom to manage your images. Play around with different settings and find your style.
Step 4. Use a tripod: Using a tripod eliminates the chance that your image will be out of focus and blurry. This ensures the consistency and stability of your shots are maintained, especially when it comes to shooting small accessories and ghost mannequin photography.
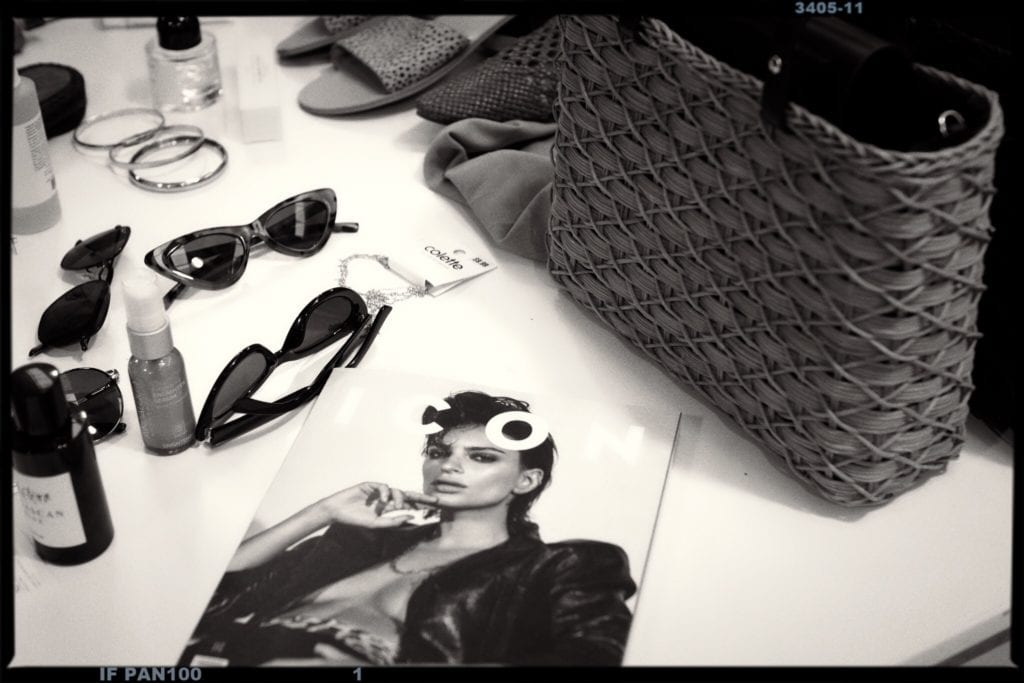
Step 5. Relax and be creative! Art is personal and subjective, meaning that there is no right way of doing it. Background props can differentiate your products from competitors and they don’t have to be very expensive. Most of them you can find at the dollar store. In photographing your products all you need just a little bit of imagination and follow the 5 steps listed. Find contrasting textures and colours that don’t draw attention away from your product. Overall you just need a camera and product to start practising to develop your style. Make sure to always share your experiences and creativity with others.


These are the basic steps for setting up a product photography studio. Or, you can just call us and we can set up the studio for you.
2023 © Design Identity Australia Pty Ltd | Terms and Conditions